Mein Panzer Cold War - Hide and Seek
Introduction
This After Action Report (AAR)
is set in the summer of 1976 around the village of Jossa, which is 18
kilometers west-southwest of Fulda, and involves an American
screening force against Soviet recon. This is the first of several AARs
using the same terrain.
Rules
The Mein Panzer rules are used.
Situation
The balloon has gone up in Central Europe and the armies of the East and West have been unleashed against each other. The reasons are of no concern to those who go to face the foe. They have more pressing matters to deal with.
Soviet forces have advanced beyond Fulda and are pressing the advance. Looking to take advantage of a possible opportunity to cut off US forces, the Soviets push toward the southwest. Part of the likely path of advance lies along the road through Jossa. The razvedchiki are out, looking for the enemy. The US cavalry troopers, badly depleted but undaunted, wait.
The Battlefield
The village of Jossa sits in a shallow valley with low wooded ridges to the east and the west. The above view is looking towards the west. The Soviets will be coming down from the north. The US will be screening the southern part of the field. The table covers an area 3 km x 1.5 km.
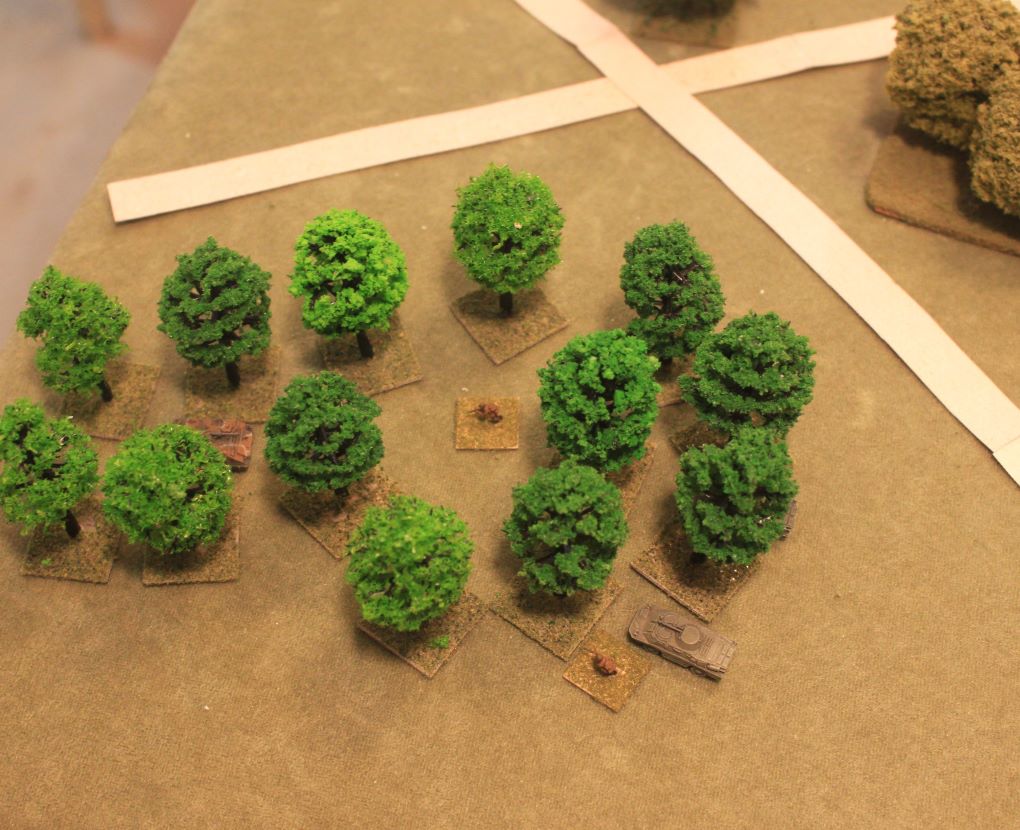
Note: The tree line edges of the large tree patches on the board are as depicted in the following picture. The foliage extends to the ground, so visibility does not extend into the trees nor out.
Mission: Screen the approaches leading south from the village of Jossa, identifying the presence of enemy forces moving south. Engage enemy forces to attrit and delay their advance.
Forces Available:
- 1 x M60A1 tank
- 2 x M113 with one dismount team each with Dragon antitank missile
The US forces will be deployed hidden on the table, a counter for each vehicle/team. The US will also have 6 dummy markers, a total of 9 hidden markers. Once deployed, the US units cannot move until the enemy has been spotted.
Soviet Forces
Mission: Conduct reconnaissance south through the Jossa area; indentify enemy forces present while remaining undetected; penetrate enemy positions as far as is possible.
Forces Available: 2 patrols, each patrol composed of 2 BRDM 2s, each with a dismount team.
US Deployment
One of the US teams settling into position on the east ridge:
The M60 takes a position to observe the valley and highway that runs through Jossa:
Jossa and the highway looking north. The dummy markers for the M60 are in place. The blue edging indicates their location:
The east ridge, looking to the northeast. One M113 with its Dragon team is placed here to cover this approach. The actual M113 location is indicated by the blue outlined square. The dummy locations are indicated with the 'V' blue lines:
The second M113 with its Dragon team is placed on the west ridge to cover this avenue of approach. The actual location is indicated by the blue square outline. The dummy locations are indicated by the blue 'V's. This view is looking to the southwest:
Below is the big picture to help in keeping oriented. The blue circles indicate the US actual positions. The top and bottom circles are the US M113s and the center circle is the M60A1 tank. The red arrows indicate the entry points of the Soviet recon patrols:
The Game
Soviet recon likes to keep a low profile when doing its work, so both patrols will try to stay concealed as they move across the table. As each patrol's actions are fairly independent of each other we will relate each patrol's story separately.
The Tale of the West Patrol
The west patrol enters the map, skirting along the inside edges of the trees, scanning for the enemy:
A dismount team scrutinizes the gap between the groups of trees before the patrol moves into the open to cross to the next group of trees:
A counter in the newly entered tree group is spotted and revealed to be a dummy: Having cleared this patch of woods, the patrol prepares to cross the open space to the next group of trees. Seeing nothing, the first BRDM dashes into the open:
The US M60 tank, in Overwatch, spots the moving BRDM and fires. A miss. The BRDM makes it into the trees. Both sides report the contact:
The second BRDM takes a deep breath and makes its move, hoping speed will give it an edge against the American tank. Luck deserts the Soviet and the alert Americans get a kill:
The surviving BRDM continues its mission and moves on through the woods and exits the table, probing to the south for the main American forces.
The Tale of the East Patrol
The east patrol enters and like the west patrol skirts the tree lines as they advance:
Working razvedchiki, vehicle and dismount team:
The east patrol clears a dummy counter and then comes up to the end of the tree stand. By this time they have heard the fire of the US tank and the reports of contact and the loss of one of their comrades. Caution is very much the order of the moment.
A dismount team is sent across the open space to check out the small copse. Undetected by the US the team finds the copse to be empty of US forces:
It is fairly certain to the Soviets that the hidden marker on the tree line is an actual American unit, but attempts to spot it have been failures. Getting closer would help. The second dismount team is sent across the open terrain, angling to the left. The American spot this move and fire on the Soviet team, pinning it: The Soviets put fire into the woods and both Soviet dismount teams begin to maneuver, working to the American's flanks:
The American ground team falls back to the waiting M113, boards and the APC withdraws to the south and off the table. The contact is reported by both sides. The American now know that their positions are being heavily probed, a harbinger of a likely Soviet move through the Jossa area.
The Soviet patrol presses on, searching for the American main line of resistance:
Results
The US mission was to screen the approaches leading to the south from the village of Jossa, identifying the presence and composition of enemy forces moving through their position and to engage enemy forces to attrit and delay their advance. With the exception of delay, the Americans accomplished their mission.
The Soviet mission was to recon south though the Jossa area, identifying enemy forces present while remaining undetected and to penetrate enemy positions as far as possible. The Soviets detected US forces in the Jossa area, but their own presence was revealed to the US. They did not spot the US M113 on the west ridge and did lose a BRDM They did continue moving south.
Assessed: Draw
Comments
In my experience screening and reconnaissance actions are not common game topics, so I was interested in trying one out. This type of game would be best with fully hidden movement mediated by an umpire so that the full tension and suspense of probing the unknown until contact is made could be realized. The next best solution is using markers to represent units until they are spotted using the game's spotting mechanics. Dummy markers also increase the uncertainty. A problem with using markers is the very process of resolving spotting attempts can reveal to players what is and isn't likely to be a real or a dummy unit.
The Mein Panzer rules have a good spotting mechanism. The target hidden stand's conditions are assessed (e.g. size of vehicle, under concealment, moving, etc.) which produces a 'spot number'. This number is modified by the distance between the target unit and the spotting unit. The spotting unit's condition will further modify this number. Then based on the troop quality, a column of probabilities is selected and the results of the attempt for you spot number are given or rolled for. Better troops have a better chance of success.
The only change to the rules I made was to allow non-moving reconnaissance troops to make 2 spotting attempts in an activation rather 1 to reflect their better training and experience in spotting.
As OGDW has only published an abbreviated 'teaser' listing of Cold War vehicles and equipment for the US and Soviets there were some gaps that needed filling in. For example, the 'teaser' charts do not have the BRDM 2. So data from other rule sets for the period were cobbled to fit the Mein Panzer data format.
I'm no expert on reconnaissance and cavalry unit tactics, so those who know about these things will probably find fault with how the forces were used in this game. Constructive criticism is invited.
While big tank actions may have more appeal I think this aspect of modern combat, the screening battle, has a lot of potential.


Interesting little action. Hidden movement & concealment is always a bit fraught and prone to lackluster effects in rules. Short of a GM and working off maps it's pretty hard to get around without going relatively abstract (such as how FOW does their ambush rule).
ReplyDeleteDave, thank you for coming back to visit my site. The lack of fog of war is a perennial challenge for miniature and board war games. That is one area where computer games shine, but good luck playing a favorite computer game 10 years from now. Though, if you were to game a contemporary conflict, say today's Ukraine, the prevalence of drones has brought the God's Eye View to the battle field.
DeleteAgain, thanks for the visit and the comment.
Most enjoyable scenario!! One that utilizes other Combined Arms assets rather than massive tank vs tank slugfest. Very refreshing!
ReplyDeleteThanks for the comment and the visit to my website. I understand the appeal of tanks and I have the impression that a lot of miniature gamers who play post WW1 games enjoy the armor slugfest the most. All those tanks on the table looks impressive and it's also simpler to play. Infantry and artillery tend to complicate and slow down the game. I was in the infantry, so I like to see all the appropriate forces play their part in the battle.
Delete