Mein Panzer Cold War - Collision
Introduction
Continuing from the previous Jossa ("Hide and Seek") scenario the Soviet command decides that, based on their reconnaissance reports, an opportunity to attempt to cut off American forces retreating west exists. A tank regiment is ordered to move southwest in the Jossa direction to carry out this maneuver. The Americans recognize their vulnerability and order forces to move to block the Soviet threat. A meeting engagement is in the offing.
As I have neither the table space nor models enough to execute a very large engagement, this scenario will be small in scale, representing the initial contact of the forces.
U.S. Forces
Mission: Engage advancing Soviet forces to delay or halt their advance south through the Jossa valley.
Forces Available:
- 1 x M60A1 platoon (5 tanks)
Soviet Forces
Mission: Operating as part of the advance guard move south through Jossa to engage US forces and carry out the regiment's mission to cut off and destroy US forces withdrawing west.
Forces Available:
- 1 x T62 company (9 tanks)
Deployment
Both forces start off table, entering on the first turn, the Soviets from the right (the north) and the Americans from the left (the south).
The Game
The US gets the initiative and enters first followed by the Soviets. The US engages a spotted Soviet tank but misses.
Second turn the Soviets get the initiative. Moving forward they exchange fire with two US tanks on the US left and get a hit which immobilizes and suppresses one tank.
The US activation sees the suppressed tank recover and the other two tanks on the US left fire. One T62 is killed.
On the third turn the Soviets win the initiative. The Soviet right platoon checks its morale due to its loss and becomes Shaken. They cannot advance this turn, but they can fire and doing so they immobilize another US tank. A center Soviet platoon tank fires at the just immobilized US tank and kills it. Further Soviet fires miss and the remainder of the Soviet company moves forward.
The US platoon activates and checks morale due to its loss. Morale remains good. The remaining left flank US tanks fire with one miss and one suppression result. The two US tanks on the right, unable to see the Soviets on their left remain in Overwatch, waiting for the enemy to appear to their front.
Turn 4 the US gets the initiative so the two US tanks on the left fire. One miss and one kill.
The Soviets on the right continue firing at the US tanks on the US left and kill both US tanks. The US left has been destroyed.
The Soviet center platoon passes its morale check and advances. The Soviet left platoon also moves forward but comes under fire from the overwatching right flank US tanks. One Soviet tank is suppressed and another is destroyed.
Turn five sees the Soviets with the initiative. The Soviet left platoon passes its morale but the suppressed tank remains so. The remaining left flank platoon tank advances through Jossa to the edge of town. The Soviet right flank platoon now advances and engages the left of the remaining US tanks, getting an immobilized and suppressed result. The center Soviet platoon now moves forward but its fires miss.
The US activation sees the US fail its morale check with a rout result. The only US tank that can move exits the table. Its immobilized comrade is abandoned.
The Soviets begin the pursuit.
Results
U.S.: 3 tanks killed; 1 tank immobilized and abandoned; 1 tank escaped.
Soviets: 3 tanks killed.
Assessed: Soviet victory.
Comments
Tactics: This is a meeting engagement and the tactics used by both sides were very basic: get into line and blaze away until somebody wins. For the Soviets this tactic naturally follows from their tank company battle drill, rapidly deploy from column into line and attack to maintain offensive momentum. So why would the US side chose such a tactic, considering they are out numbered? If your foe is on you before you expect him you do your best and pray that will be good enough. This is just the sort of situation you have here with both sides coming into view at the same time and within range.
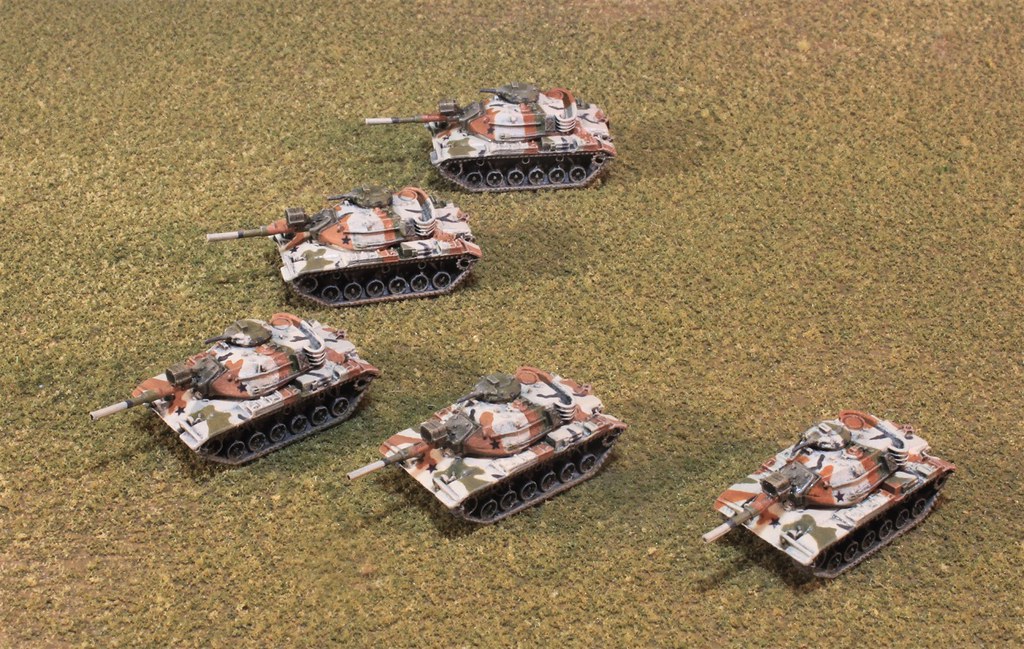
US Tank Camouflage: If you are curious about the camouflage scheme carried by the US tanks it is the MASSTER scheme. This was a scheme that many US units in Germany carried before the introduction of the MERDC scheme. Here is a closer view of the models:
Click here for more:Mein Panzer M60A1 Values: When I closely examined the 'teaser' Cold War data for the M60A1 tank that OGDW has published I noticed that the frontal defensive value was given as '14'! The T62 has '8' listed as its frontal defensive value. These two tanks were understood to be relatively evenly matched. The M60 value seemed too much so a check of other data sources led me to adjust the front defensive value to a '9' with additional adjustments to the side (from '7' to '4') and the rear (from '3' to '2'). The battle was fought with these adjusted values.


Maybe the US should have hunted for some crests to pull off a hulldown defense? I though the number of units seemed a bit light, but the AAR suggests there was a game to be had. Was it fun or dull? You may have mentioned before....what scale is this?
ReplyDeleteThis scenario was a little hard on the US side, but ... (shrug of the shoulders) ... c'est la guerre. You may find the next scenario in this series more satisfying. The scale of Mein Panzer is 1 model equals 1 vehicle; 1 inch equals 50 yards; and 1 turn equals 5 minutes.
Delete